
Node SDK Quick Start
Time: ~5 minutes | Difficulty: BeginnerWhen to use this SDK:
- Server automation: AI agents, CI/CD pipelines, batch jobs
- Programmatically managing stores, products, payments, customers, subscriptions
- Verifying webhook signatures
- Provisioning sub-merchants and minting per-merchant API keys (
tagada.partners.*— see the Partners section)
- Anything that runs in a browser — tokenization, 3DS challenges, wallet sheets → use
@tagadapay/core-jsor the Headless SDK - Custom checkout UI on your own domain where TagadaPay manages the cart → pair this SDK with the Headless SDK
- Paying a Headless checkout session with
payments.process()→ that session must be paid withprocessPayment()in the browser. See Choose how you accept payments
What Is the Node SDK?
The Node SDK lets you control TagadaPay from your server. Think of it as the backend counterpart to the Plugin SDK — while the Plugin SDK builds the checkout UI, the Node SDK manages everything behind it.Why use the Node SDK? If you’re an AI agent, a CI/CD pipeline, a custom backend, or just prefer code over dashboards — this is how you talk to TagadaPay programmatically.
Prerequisites
- Node.js 18+ (nodejs.org — run
node --versionto check) - A TagadaPay API key — get one in 30 seconds (next section)
Get an API key in 30 seconds
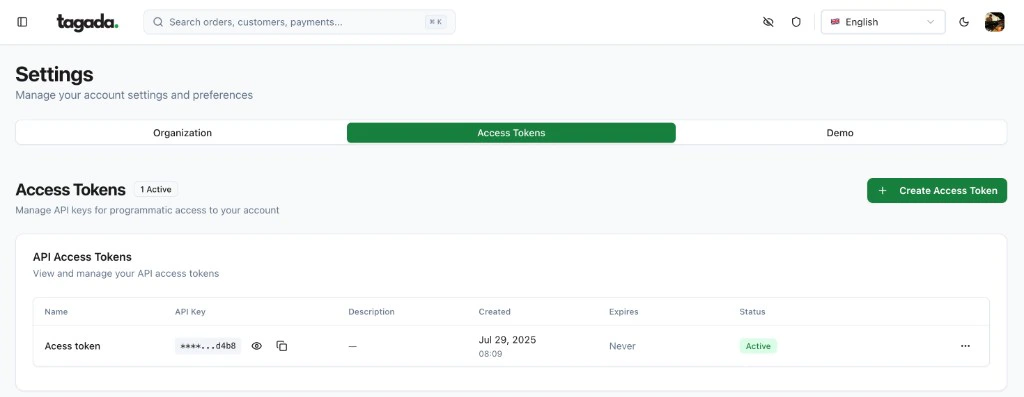
You have three options. The first one is what AI coding tools / installers should use; the last one is what you’d do if you already have an account.- CLI (interactive)
- SDK (programmatic)
- Dashboard (existing account)
Run this in the directory where you want your Paste the 6-digit code from your inbox when prompted. Done —
.env:TAGADA_API_KEY, TAGADA_STORE_ID, and TAGADA_ACCOUNT_ID are now in .env.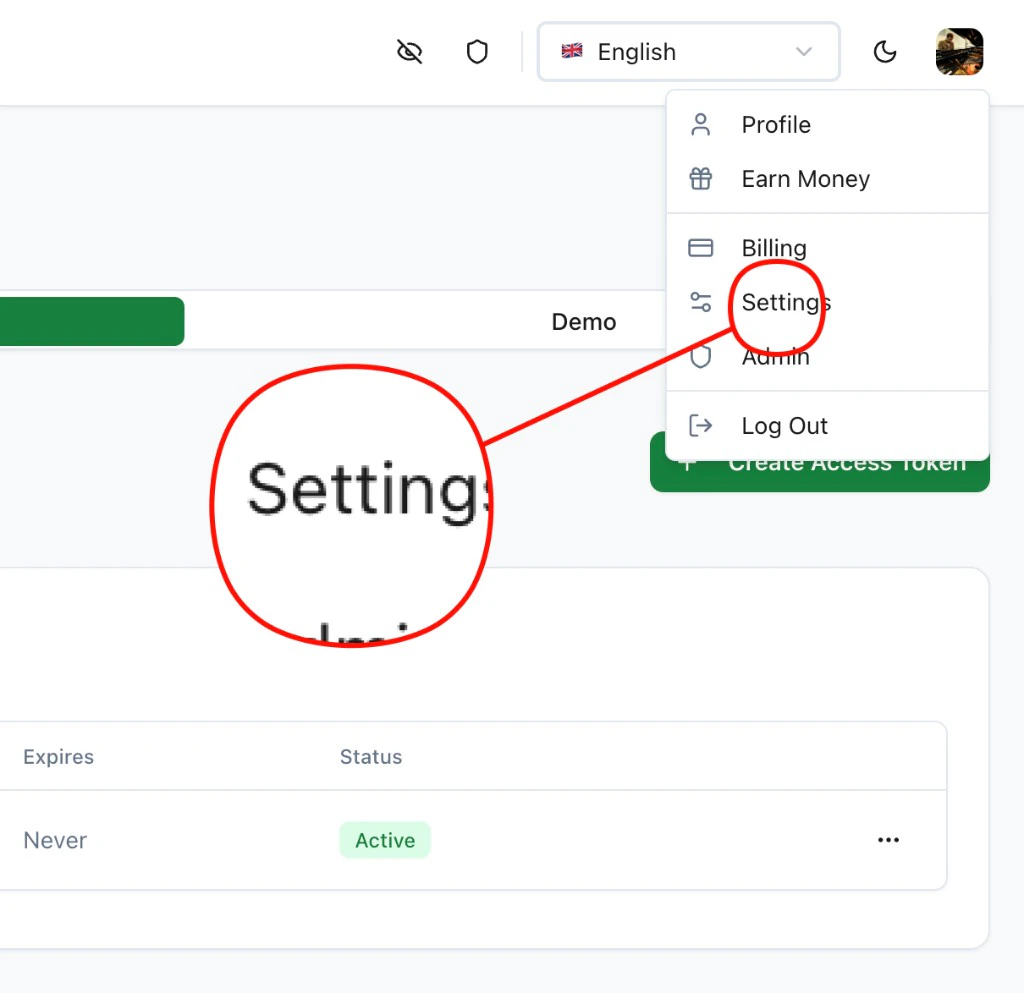
Install
Initialize
tagada.<resource>.
Example: Full Checkout Setup in 7 Steps
This script creates a processor, payment flow, store, product, and funnel — activates the checkout — then generates a checkout session link. No plugin deployment needed; TagadaPay’s native checkout is auto-injected.Available Resources
Every resource follows the same patterns:list, retrieve, create, update, del.
Payment Flows: The Core of TagadaPay
TagadaPay is PSP-agnostic. You connect multiple processors (Stripe, Checkout.com, NMI, etc.) and define payment flows that route transactions intelligently.Error Handling
The SDK throws typed errors you can catch individually:429, 5xx, and network errors are automatic (configurable via maxRetries).
Configuration
TypeScript
Fully typed. Import any type you need:Next Steps
Email Templates
Create and customize transactional emails — order confirmations, subscription receipts, cart recovery
Webhooks & Events
Real-time notifications and event log for payments, subscriptions, and more
Subscriptions
Recurring billing, trials, retries, processor migration
Multi-Stripe Routing & Vault
Connect multiple Stripe accounts, vault cards, and cascade transactions
Funnel Orchestrator
Deep dive into multi-step funnels with routing, A/B testing, and analytics
API Reference
Full REST API documentation